Love Story

Showing posts with label homemade. Show all posts

Wednesday, August 22, 2012

See It, Pin It, Do It - DIY Cleaning Products

In the last year or two I have really become more aware of the amount of store bought products that could easily be replicated at home with less cost and often less chemicals. Since then I have found it enjoyable to try out the different suggestions and see what works well and make as many swaps from store bought to homemade as possible. So I thought it would be a good idea to make this See It, Pin It, Do It post about DIY cleaning products. Let me share what I tried.

I already make my own laundry detergent so I didn't have to try that one out. You can see my post HERE if you are interested in giving it a go yourself. I honestly whip this up every couple weeks and the supplies last me quite awhile. For my family, it works great.

This last week I ran out of dryer sheets so it was the perfect opportunity to try out the reusable dryer sheets I had pinned from One Good Thing (click the name for her instructions). I loved the idea of eliminating the waste of dryer sheets and already had the white cloths and liquid fabric softener on hand so decided to give this a whirl. You can also do this with homemade liquid fabric softener (see One Good Thing's link above for those instructions as well) which I plan to try when I run out of the Downy I already have on hand. I hung them up in my laundry room to dry and they were ready by the end of the day. Have been using them ever since and absolutely love them!
The before picture of my dryer sheets
Another DIY cleaning product I have already tried out and been using for some time is a replacement for store bought Swiffer Wet Jet Cleaning Solution. You can see my post on that HERE. However I may have to replace that with the next product I share with you.

I was thrilled when I found a Pin with a homemade citrus cleaning product. I just used the pinner's suggestion so I am going to link you back to that original pin instead of an actual blog. This can be used as an all purpose cleaner (and would be great in your Swiffer Wet Jet!). You are looking at a two week process here so you'll want to save your citrus peels now. As soon as one solution was ready, I started the next one so I would have more when the first bottle ran out. My first batch smelled mostly of vinegar but cleaned really well. I am trying more peels in my second batch to see if that helps create more of a citrus scent. Here's what the process looked like for me:
Supplies - container, 2 cups vinegar and citrus peels

Sealed container with instructions and ready date

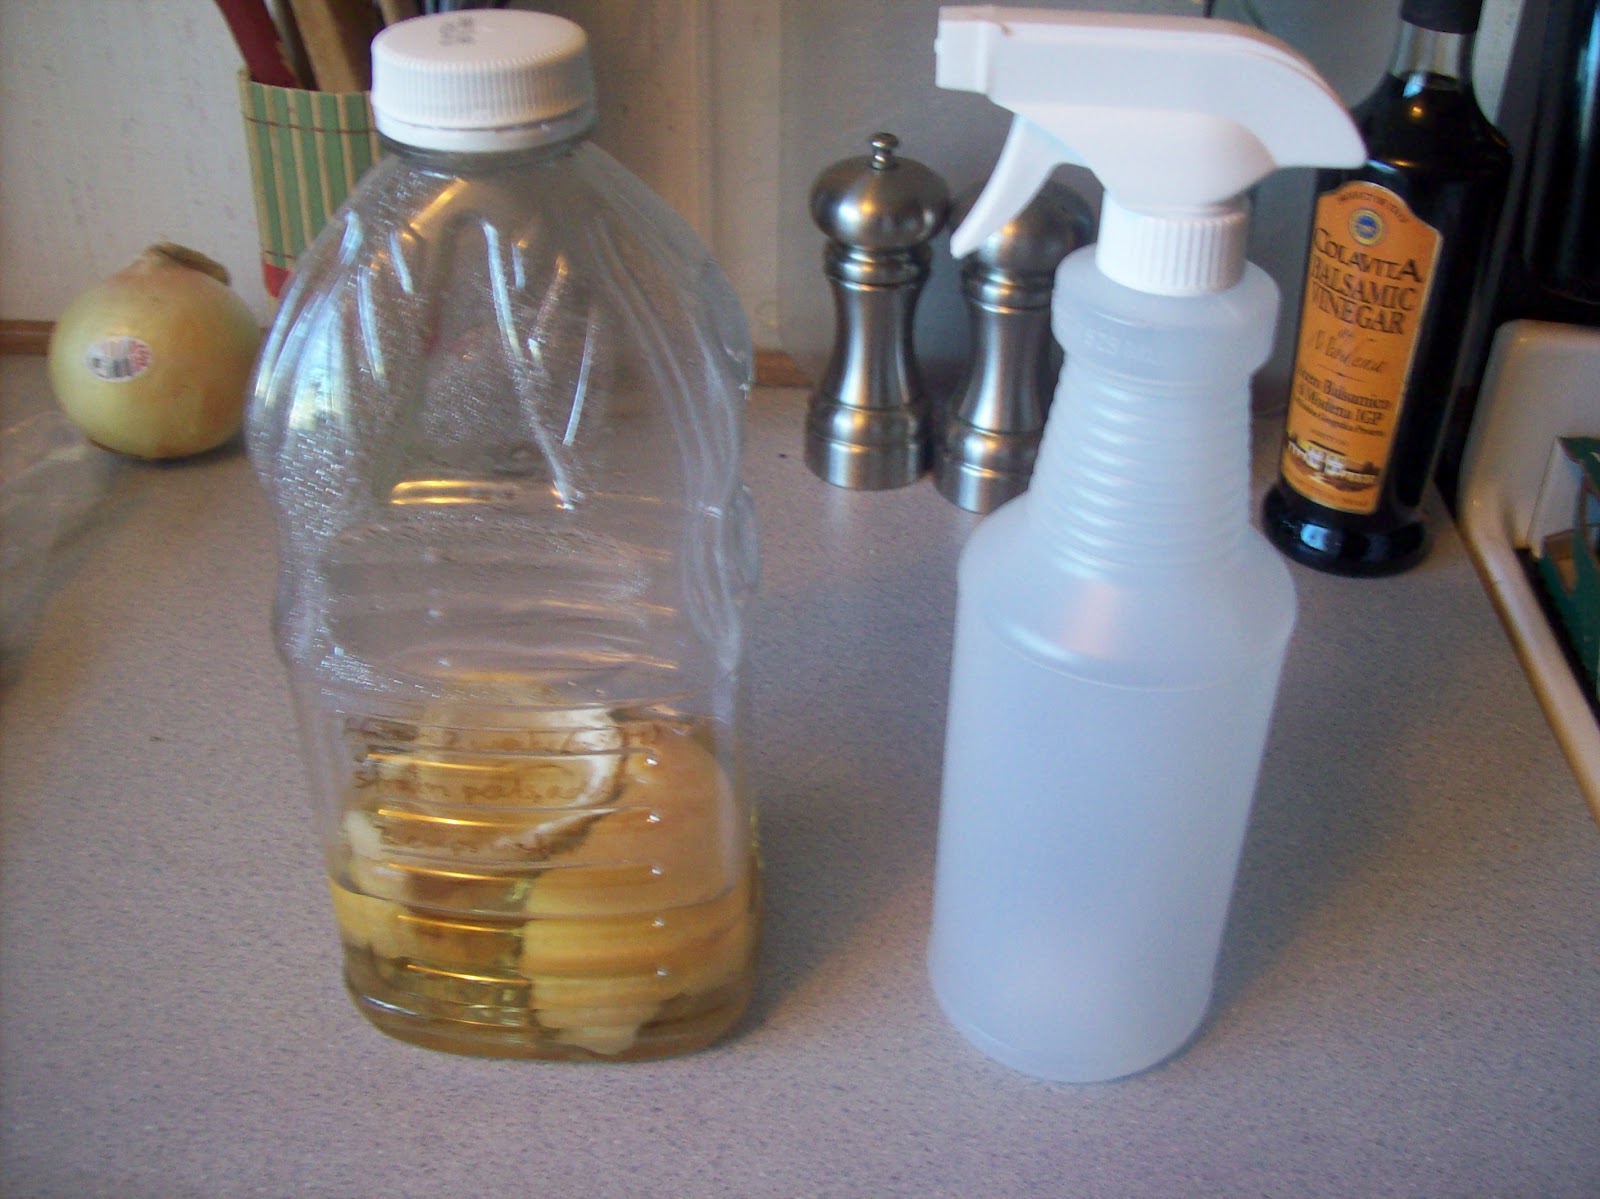
2 weeks later...ready to mix with 2 cups water

Mixed, labeled and ready to go!
Next I tried a very simple bath tub cleaner (that was pinned from Food.com of all places!). Click the highlighted words for exact instructions but this is basically equal parts heated vinegar and Dawn dish soap. {For full disclosure, I didn't use Dawn but instead whatever brand of dishwasher soap I had on hand but I still got great results}We have two baths in our house so I sprayed them both down and let them sit while I cleaned the rest of the bathroom. I had my husband do the second tub because he is sometimes a sceptic about the effectiveness of homemade cleaners and we were both equally pleased with the results. Coincidentally, my sister also made this same cleaner within the last few weeks and raved about it as well! I would say it's a keeper.
Labeled bottle with ingredients so I don't have to look it up next time I want to make it
Finally I wanted to share with you the DIY toilet bowl cleaner I have been using for years now. I don't have pictures or a source because it's a simple tip I picked up awhile ago and have done ever since. I pour a cup of vinegar into a medium sized bowl, hold it over my toilet bowl and add 1/4 cup baking soda and mix slightly before dumping it into the toilet (vinegar and baking soda has a really fun reaction so make sure you don't use a bowl that's too small..been there done that!). I let that sit for a minute and then use the toilet brush to wipe down the inside before flushing. With 3 small kids in the house who have all at one time or another gotten into the toilet water and a cat who frequently uses it as his watering hole (I know, gross!), I like to keep chemicals out of the bowl so this is a method that I feel safe using and that is also effective.

There's the list so far. I am waiting for my Febreeze to run out so I can make my own and also have the ingredients on hand for a mattress stain remover so you may see some add ons to this in the weeks to come. Hope you find this a handy go-to list to refer to - have fun trying them out and feel free to share your favorite DIY cleaning products! If you want to see what other DIY Cleaning Products have caught my interest, make sure to follow my DIY & Cleaning board on Pinterest.

***Just wanted to mention that I get all of my squirt bottles at the Dollar Store but you could easily reuse an old cleaning bottle as well. Just make sure to thoroughly clean it out so you don't have a reaction with mixed ingredients***


Friday, May 18, 2012

Magnetic Paper Dolls

I told you to be on the lookout for my post on Magnetic Paper Dolls...and now you can look no further! This is yet another Pinterest inspired idea. The amazing talent over at Make It and Love It created an awesome tutorial that I actually copied exactly for my nieces birthday.

Aren't they adorable? And this isn't even half the books worth of dolls and outfits so I can get a whole other gift out of the book. Great deal!

While I was making this set for my niece, my boys became totally enamored with it and I actually had to take it away from them to give it to her. It gave me the great idea to search something out for Isaiah who is getting ready to celebrate his second birthday. I came across this link for printable paper dolls and printed them out myself on card stock and then went about the same process of sticking them onto magnet paper and cutting them out. Easy peasy!


I really love the retro look of these and think they will be fun for my little guy. I see many more magnetic dolls in our future because the possibilities are truly endless. You can find all kinds of really cool printable paper dolls online that range from Little House on the Prairie, to wedding themed, to Princess dolls. And for boys you could do super heroes, dinosaurs, heavy machinery, and so on.  And this gift is truly affordable. Printing at home and picking up a cookie sheet at the dollar store makes for minimal cost there. And if you have a Hobby Lobby near you I recommend using their 40% off coupons to get cheap magnet paper. You know how much I love affordable, easy gifts that have that special homemade touch!

Saturday, November 26, 2011

Button Ornaments

This year I have really been drawn to buttons. They are just so fun for crafting! In recent years we have agreed to stop exchanging gifts with my brother and his wife and instead focus on the kids at Christmas time. So we started a tradition of exchanging ornaments instead. This year we planned to swap ornaments on Thanksgiving so we could enjoy them during the current holiday season. I had planned to make mine so when I came across these button ornaments by Martha Stewart, I knew they were just the thing.
I was extra blessed in this endeavor as one of the followers on my Facebook page generously mailed me a bunch of buttons from her stash for no cost after I inquired about where to buy them in bulk. Thank you so much Jerre Lollman:)

 Here's what I came up with (one each for my brother, sister-in-law, and 2 nieces):

That's a reindeer, a snowman, an elf (or leprechaun as I kept calling it at one point;), and a Santa. I am planning to make some more to attach to gifts and am going to come up with some special ones for my boys so I'll post about those when I finish them. If you are interested in making some yourself click the Martha Stewart link above. The only materials you need are buttons, pipe cleaner, and ornament hooks. These literally take minutes to make and would be a fun project to get your kids involved with as well. Happy Ornament Making!

Saturday, April 30, 2011

Making Bean Bags

Let the 1st birthday related posts begin! We are going pretty low key when it comes to presents, seeing as he is only turning 1 and his brothers already own 75% of the toys on this planet. I did want one of his gifts to be homemade. I have been so good about doing that for my niece and for other friends and family but not so much with my own boys. So I decided to make him some bean bags...nice and easy but lots of fun for a 1 year old!


What you need:
~ Fabric
~ Beans. I used small white beans (no really, that's the name on the bag!) and it took about 7 1/2 cups worth.
~ Something to cut with
~ Something to sew with

Let's get started:
You'll want to start by cutting squares out of the fabric(s) of your choice. I wanted 10 bean bags made from 5 different colored pieces of fabric so I cut 4 5inx5in squares out of each piece of fabric for a total of 20 squares. I used a rotary cutter just because it made cutting nice and easy but good ol' fashion scissors work just as well:


I decided to make my bean bags a different color on each side so I matched up my color combinations and begin pinning squares together (the right side of the fabrics should be touching):

Now to begin sewing. You could easily do this project by hand but it is of course much faster if you have a sewing machine. You are going to want to sew along 3 sides of your square, leaving one side open so you can fill them:


Flip your square right side out and fill it with beans. I used 3/4 a cup, you can adjust that based on how full you want your beanbags:


You ready to finish 'er up? Fold down the open side and pin it shut. Then sew across the top and voila...you have yourself a beanbag!


I love this project because it took minimal time and very few materials. I am hoping that Isaiah loves them as much as I do!

Aren't they pretty?

If you are wanting something a little more elaborate, check out these counting bean bags.

This project was featured over at The Happy Housewife, Attempting Aloha, and Play Pennies:


Related Posts Plugin for WordPress, Blogger...