What's for snack??? How many times a day do you hear this in your house? My kids have two small snacks a day (one between breakfast and lunch and one in the afternoon) so I feel like I hear this all the time!
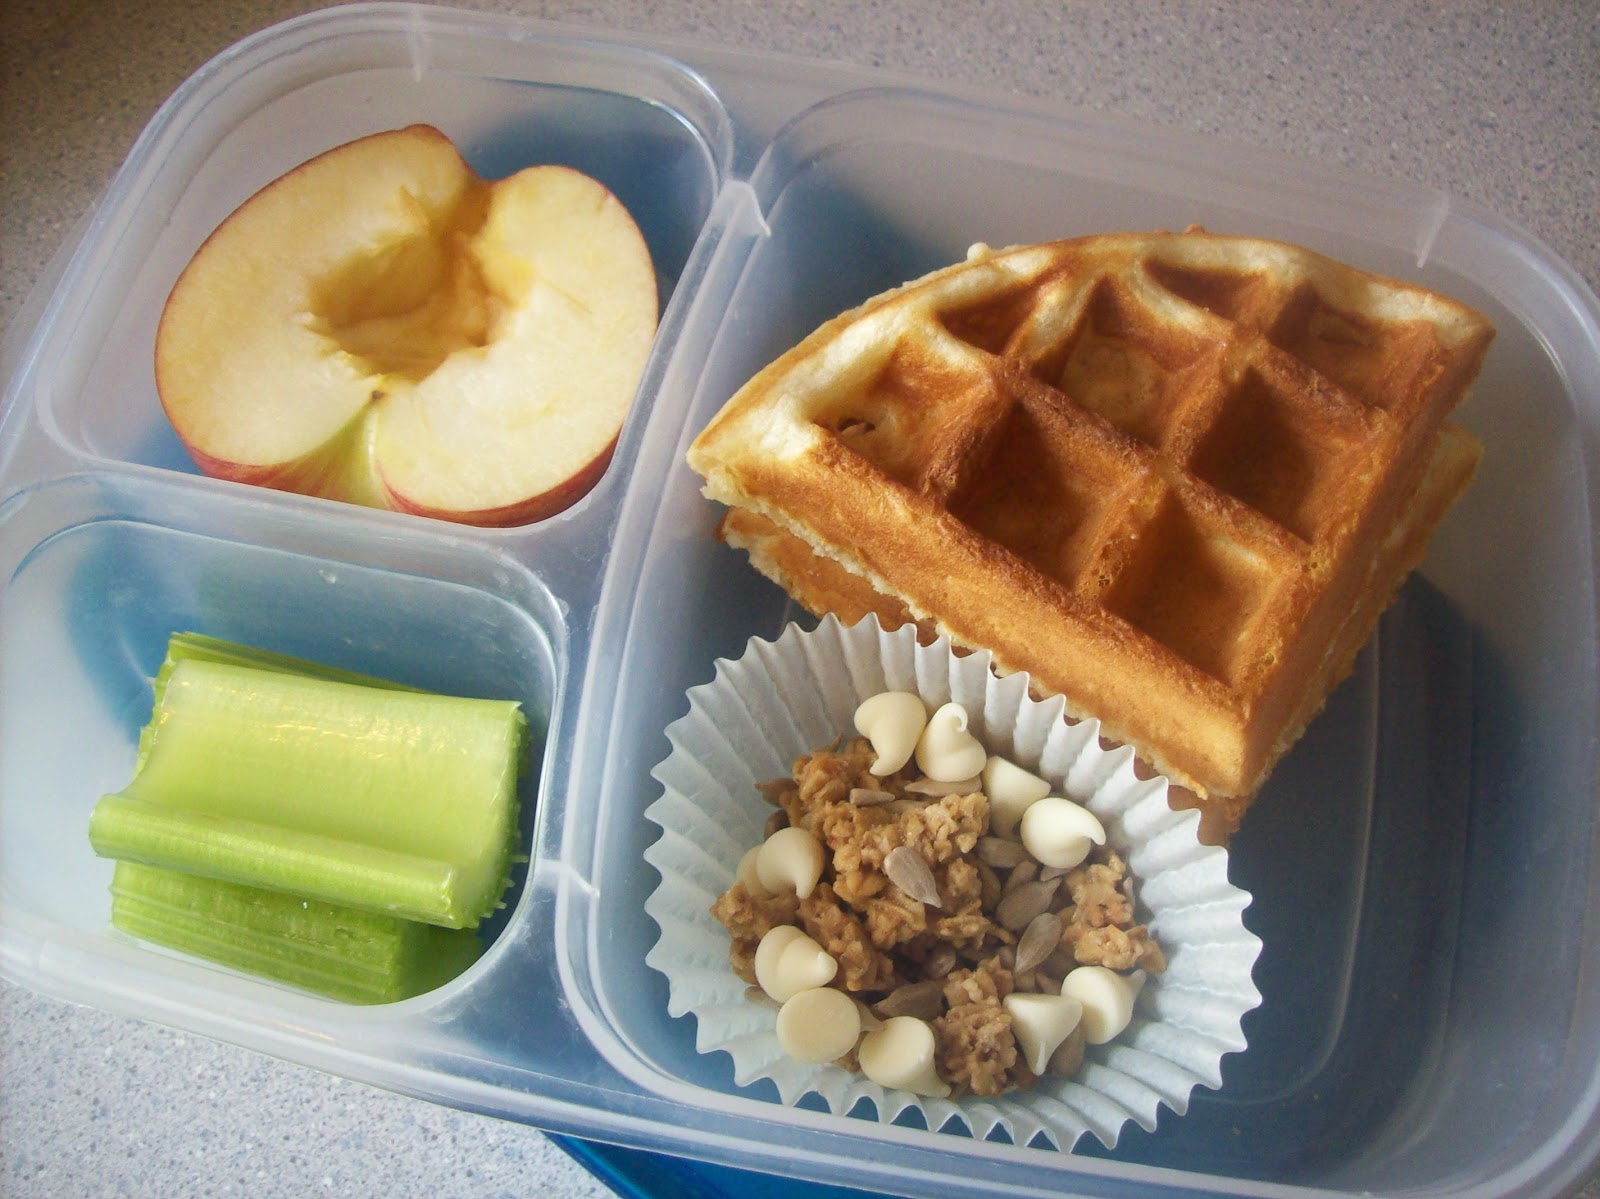
I mentioned a few posts ago that I had revamped breakfast around here. That is continuing to go smoothly and we are finding all kinds of great food to start our day. Now I am starting to work on doing the same with snacks. Moving away from some of the processed snack foods they have come to rely on (can you say fruit snacks and store bought granola bars?) and trying to incorporate more homemade, healthy options. Not everything is totally healthy, but I at least try to know what ingredients are going into what they are eating. Artificial dye does not make that list.
Let's get onto the good stuff: pictures of food!
These are peanut butter balls that I made by loosely following a recipe at Sweet Pea's Kitchen {browse while you are there because there are zillions of other amazing food ideas}. I used steel cut oats after soaking them first and left out any dried fruit because one of my children doesn't like them (although next time I will make a batch both ways to please the masses!). This is so versatile because you can really add whatever you have on hand. Here's what ours looked like:
I had some almonds on hand that the kids had been snacking on raw along with string cheese or fruit but decided to sweeten up the remainder for a special snack one day. The resulting toasted cinnamon almonds from Aldi Food Blog were A.M.A.Z.I.N.G. So good and definitely a crowd pleaser. Yes, there is quite a bit of sugar on these bad boys but as a once in awhile treat I think they are great.
You can never go wrong with popcorn, but sometimes it can be kind of bleh if you do it too often so we like to add in different toppings to keep it interesting. Kind of like a popcorn trail mix! This particular bowl has raw cashews and dried apricots:
These quinoa granola bars are about as easy as can be. I threw a handful of ingredients into the food processor, used cookie cutters to mold the bars, and baked for about 15 minutes. Thanks Anja's Food 4 Thought for the inspiration!
Homemade cheese crackers - if you have never made these, you NEED to. They are a simple 4 ingredients (compared to the 15+ in their boxed store bought counterpart) and come together in no time. These are gone in no time and eaten by both kids and adults in this house:) There are tons of recipes out there but this time I used this version from Cooking Ala Mel:
This is just a sampling of what has been showing up on the snack list. As I mentioned, we do lots of snacks around here so if you like what you see here and would like more ideas make sure you let me know!
Past snack related posts:
Homemade granola bars (this version is more similar to store bought with different nuts, etc)
Homemade graham crackers
Tuesday, October 16, 2012
Friday, October 12, 2012
Lunch Round Up #3
Apple slices with peanut butter, homemade fries and cucumbers with ranch dipper, popcorn and chocolate |
Rice cakes, string cheese, celery sticks with peanut butter, carrots, banana |
![]() |
carrots, lunch meat, cheese cubes, cucumber slices, popcorn, banana |
![]() |
pumpkin cornbread, oranges, applesauce with cinnamon, carrots, rice cakes with crock pot refried beans |
![]() |
Made this lunch special for my visit to his school (all his favorite things!) carrots, cornmeal and cheddar biscuits, homemade mac n cheese, turkey rice meatballs |
![]() |
orange slices, celery, leftover chicken and fries with ketchup dipper from his brother's birthday dinner at Texas Roadhouse |
![]() |
banana, cucumbers, homemade tortillas and crock pot refried beans rolled up and fried with ranch dipper, carrots |
Lunch Round Up #1
Lunch Round Up #2
I also have to be a little bit of a lunch container nerd and share how excited I am about the new dipping cups I got. I love, love, love the EasyLunchBoxes I have been using for 2 years now but couldn't find a dip container that fit inside. Imagine my excitement when they came out with their own perfectly sized dipping cups that have a snug lid and fit right inside the container!! You can find them here or on Amazon. (and no I am not getting reimbursed for this plug...I just truly love the product and wanted to share for any of you looking for the same kind of thing:)
Monday, October 1, 2012
Halloween Countdown Calendar
I was browsing Pinterest {anyone else frequently find themselves starting their sentences that way too?} and actually looking at Christmas advent calendars when the idea hit me - why wait for December when October is here and has a perfectly fun holiday worth counting down to! So I did a quick little search for inspiration and came across an adorable Countdown to Halloween at Tailored Pages that was made using a cookie sheet from the Dollar Store. I happened to have an extra on hand from our road trip {remember the activities I made for the kids?} so I took the idea and ran with it.
I started by raiding my stash and grabbing goodies I already had laying around. I have a friend who snagged a bunch of Halloween craft stuff on major discount last year and was kind enough to share some with me so I knew this was a great opportunity to use some of that. Here is most of what I started with:
After the kids were in bed I sprawled out on the floor and in no time had whipped up this cute hanging Halloween Countdown:
The marker is a cute little spider attached to his web (he has a magnet on his back to keep him stuck to the tray):
I think the kids will get a kick out of this and it will be a fun new addition to our Halloween decor. I am excited that it cost nothing and we will be able to use it year after year!
Labels:
cookie sheet,
crafts,
DIY,
Dollar Store,
Halloween countdown calendar,
holiday,
magnet
Sunday, September 30, 2012
{No-Sew} Fabric Scrap Tutus
A few years ago I made a no-sew tulle tutu for my niece's 2nd birthday. It was so easy and I have been meaning to make more, especially now that I have a second niece to spoil! So when I saw the new trend of fabric scrap tutu's, I knew that I had to give those a try.
This was a super easy project and took no time at all. And what a great way to use up your scrap pile! Here is how my youngest niece's skirt turned out:
Want to see how I did it? Let me walk you through the steps I took on my older niece's skirt. To get started you want to measure the waist of the person you are making it for (I used my 4 year old to get a rough estimate) and then subtract 3 inches. This is how much elastic you want to cut. I believe I am using the 1 inch wide elastic here. Then you want to sew the two ends together to create a waistband. (Okay, I said no sew but this step is super easy so I don't think it counts:)
Then you want to find some coordinating fabrics and start cutting strips. My strips are between 1 and 2 inches wide and to determine length just measure from the waist to wherever you want the skirt to hit and then double. It doesn't hurt to go a little longer because you can always trim it down. You can also cut the different fabrics in various lengths for dimension. The number of strips you need is going to depend on how big your skirt is. For this skirt I used almost 50 strips (this isn't all of them, I had to add some at the end):
Now you are ready to assemble your skirt. Find a comfy seat {and if you are like me, some ridiculous Reality TV show to past the time} and slide the elastic band up over your thigh.
At this point you need to decide what order you want to add your fabric in. You can alternate colors in an ABCD pattern or clump them together in various ways - AABCCD or ABACAD, etc. This will depend on what you want your skirt to look like and how much of each fabric you have. You can also just wing it as you go and see what looks good. When this is decided, you can start adding the fabric to the waistband. This is done with a simple slipknot (I will label the directions with numbers that correspond with the following pictures for those of you who need a visual). Fold a strip of fabric in half so that the non-pattern sides are touching[1]. Slide the folded piece of fabric under the elastic[2]. Create a loop at the top of the fabric[3] and pull the ends through the loop[4]. Pull and adjust until it has created a tightened knot on the waistband[5].
Continue doing this until your entire waistband is covered and you have a full skirt.
You can see that I got through my first pile of fabric strips and had a gap so I had to find some more fabric to add to it. The nice thing is that you can slide the knots around so you aren't limited to adding to the gap, fill that fabric in wherever you want to:
I also added in a few ribbon strips and a bow and then I was done!
This is such a versatile pattern, you can feel free to add in ribbon or tulle as you go for accents or embellish with fabric flowers or bows. The possibilities are really endless! Wouldn't this be fun in team colors for a little fan? I think tights and boots would be darling with these skirts. Can't wait to see them on my already adorable nieces!
This was a super easy project and took no time at all. And what a great way to use up your scrap pile! Here is how my youngest niece's skirt turned out:
Hers is made up of 4 different fabrics and I cut a point on the ends of the orange flowered strips for some extra dimension |
Want to see how I did it? Let me walk you through the steps I took on my older niece's skirt. To get started you want to measure the waist of the person you are making it for (I used my 4 year old to get a rough estimate) and then subtract 3 inches. This is how much elastic you want to cut. I believe I am using the 1 inch wide elastic here. Then you want to sew the two ends together to create a waistband. (Okay, I said no sew but this step is super easy so I don't think it counts:)
Then you want to find some coordinating fabrics and start cutting strips. My strips are between 1 and 2 inches wide and to determine length just measure from the waist to wherever you want the skirt to hit and then double. It doesn't hurt to go a little longer because you can always trim it down. You can also cut the different fabrics in various lengths for dimension. The number of strips you need is going to depend on how big your skirt is. For this skirt I used almost 50 strips (this isn't all of them, I had to add some at the end):
Now you are ready to assemble your skirt. Find a comfy seat {and if you are like me, some ridiculous Reality TV show to past the time} and slide the elastic band up over your thigh.
At this point you need to decide what order you want to add your fabric in. You can alternate colors in an ABCD pattern or clump them together in various ways - AABCCD or ABACAD, etc. This will depend on what you want your skirt to look like and how much of each fabric you have. You can also just wing it as you go and see what looks good. When this is decided, you can start adding the fabric to the waistband. This is done with a simple slipknot (I will label the directions with numbers that correspond with the following pictures for those of you who need a visual). Fold a strip of fabric in half so that the non-pattern sides are touching[1]. Slide the folded piece of fabric under the elastic[2]. Create a loop at the top of the fabric[3] and pull the ends through the loop[4]. Pull and adjust until it has created a tightened knot on the waistband[5].
[1] |
[2] |
[3] |
[4] |
[5] |
Continue doing this until your entire waistband is covered and you have a full skirt.
You can see that I got through my first pile of fabric strips and had a gap so I had to find some more fabric to add to it. The nice thing is that you can slide the knots around so you aren't limited to adding to the gap, fill that fabric in wherever you want to:
I also added in a few ribbon strips and a bow and then I was done!
This is such a versatile pattern, you can feel free to add in ribbon or tulle as you go for accents or embellish with fabric flowers or bows. The possibilities are really endless! Wouldn't this be fun in team colors for a little fan? I think tights and boots would be darling with these skirts. Can't wait to see them on my already adorable nieces!
Labels:
crafts,
DIYgifts,
elastic waistband,
fabric scraps,
instructions,
my nieces,
no-sew,
pictures,
slipknot,
step by step,
tutu
Saturday, September 29, 2012
More {non-cereal} breakfast ideas
We are continuing to enjoy the variety of food that is showing up on our breakfast table after deciding to cut back on our daily cereal habit. I am excited to continue to have fresh ideas to share with you as well!
The morning my kids woke up and saw popsicles on the breakfast menu, they thought they had won the lottery! I made these simple popsicles the night before using greek yogurt thinned out with a little bit of milk, honey, apple and banana chunks. We tried dipping in honey and rolling in granola before eating them but that didn't stick so well. They also had homemade bagels that I slit down the middle and stuffed with peanut butter.
This bowl of yogurt was absolutely devoured by my 4 year old. Greek yogurt, honey, granola, sunflower seeds, hazelnuts and apple chunks with a dash of cinnamon:
I had a motive beyond a good breakfast when I made this steel-cut oatmeal in the crock pot overnight. I was trying to get rid of an overpowering onion smell left behind from dinner so I added pureed sweet potatoes, cinnamon and nutmeg which created a wonderful fall smell in the morning, as well as a delicious breakfast! My kids liked it with a little milk and syrup:
The oatmeal created some leftovers so I used that to make pancakes for the next morning. I used 2 cups oatmeal, 1 cup (more as needed to thin it out) milk, 2 eggs, 3 Tbsp melted butter, 3/4 c flour, and 2 tsp baking powder. These are a little bit more delicate then regular pancakes so let them cook for several minutes on each side before flipping:
The morning my kids woke up and saw popsicles on the breakfast menu, they thought they had won the lottery! I made these simple popsicles the night before using greek yogurt thinned out with a little bit of milk, honey, apple and banana chunks. We tried dipping in honey and rolling in granola before eating them but that didn't stick so well. They also had homemade bagels that I slit down the middle and stuffed with peanut butter.
My kids have always been crazy about pancakes and waffles and I had assumed that was mostly about the syrup. But come to find out that smothered in peanut butter and honey made waffles equally delicious and they were devoured just as fast as ever! (They requested the leftover popsicles to go with it:)
Sticking with the "waffle" theme, these waffle sandwiches are quick, easy and satisfying. I took two pieces of wheat bread and spread a thin layer of peanut butter on each side and then topped one side with thinly sliced bananas and a drizzle of syrup. Put it all together and put it in my waffle iron for a minute and it was done. You could do all kinds of tasty combinations here, use your imagination!
This bowl of yogurt was absolutely devoured by my 4 year old. Greek yogurt, honey, granola, sunflower seeds, hazelnuts and apple chunks with a dash of cinnamon:
I had a motive beyond a good breakfast when I made this steel-cut oatmeal in the crock pot overnight. I was trying to get rid of an overpowering onion smell left behind from dinner so I added pureed sweet potatoes, cinnamon and nutmeg which created a wonderful fall smell in the morning, as well as a delicious breakfast! My kids liked it with a little milk and syrup:
The oatmeal created some leftovers so I used that to make pancakes for the next morning. I used 2 cups oatmeal, 1 cup (more as needed to thin it out) milk, 2 eggs, 3 Tbsp melted butter, 3/4 c flour, and 2 tsp baking powder. These are a little bit more delicate then regular pancakes so let them cook for several minutes on each side before flipping:
Keep watching for breakfast ideas...I am going to try to focus on more protein based recipes next time since these all seemed to fall in the carb camp. Feel free to share what you are feeding your family for breakfast, you may see your idea pop up in my next post!
Thursday, September 27, 2012
Lunch Round Up #2
Lunch round up number two brings you two more weeks worth of lunch ideas straight from my first graders lunch box. Hope you'll take some ideas away and share some of yours in return. Here's what we've been serving:
Black bean fritters, mashed potatoes, cheese crisps, banana and homemade quinoa granola bar |
Apple half, celery sticks, waffle sandwich with peanut butter and honey, homemade trail mix with granola, sunflower seeds and white chocolate chips |
bananas, celery, garbanzo bean and kale patties, roasted red potato wedges |
homemade tortilla with peanut butter and honey, string cheese, carrots, pretzel rods |
carrot and celery sticks, large marshmallow with white chocolate chips, zucchini bread, apple with peanut butter, pretzel and cheese dumbbells |
butternut squash oatmeal cookie, celery, bagel pizza (homemade bagel, spaghetti sauce, pepperoni slices, cheese) , banana |
white rice, carrots, homemade tortillas with crock pot refried beans |
Shell pasta with meat sauce, string cheese, carrots, cheddar chive muffin |
Want more ideas? Check out past round-ups:
Sunday, September 16, 2012
A Party in Heaven
I believe there is a birthday party going on in Heaven today. Oh how I wish I could attend. Just for one moment see your face, hold you tight, tell you how much I love you. Of course more than anything I would rather be having a party for you here. We could be excitedly phoning our friends and loved ones to tell them that you had finally arrived. Dozens of pictures being snapped as you take your first breath, meet your brothers for the first time, get passed around joyfully between people who are already full of love for you. Listen to your first cries...those beautiful baby cries that sound like nothing else on earth. Smell your head....oh that new baby smell is the best thing ever, especially when it is your new baby. Start to adjust to life as a family of 6.
Instead we can only imagine these things, mourn these things, just as we have done for several months now. For this was not the path laid out for you. For us. You had a different purpose in this life, one much bigger than the plans we made. It hurts. Hurt doesn't even begin to describe it. But we work each day to replace that hurt with hope. With understanding. With a realization that you are still here, if only in our hearts. We celebrate for you because you never have to know the pain of this world. You have gotten to strictly live a life of joy and peace with your Heavenly Father. How blessed are you! And one day, we will be together. The 6 of us as we should be. Until then, watch over us, will you?
And today - today you celebrate. Celebrate this day that will always be your birthday to me, even if we don't get to spend it with you here on Earth. Happy Birthday Baby. We love you forever and always.
"You're blessed when you feel you've lost what is most dear to you. Only then can you be embraced by the One most dear to you." (Matthew 5:4 MSG)
Labels:
baby,
celebration,
due date,
from the heart,
Happy birthday,
loss,
Matthew 5:4,
miscarriage,
mourning
Subscribe to:
Posts (Atom)